Mastering infill percentages for igus tribofilaments in 3D printing
When it comes to 3D printing with igus tribofilaments, infill percentage is one of the most critical settings to get right. These wear-resistant materials are designed for functional parts, often used in motion applications where durability and low friction are essential. But how much infill do you really need? Let’s break it down.
What is infill and why does it matter?
Infill refers to the internal structure of a 3D printed part; the lattice that fills the space between the outer walls.
It affects:
- Strength: Higher infill means more internal support.
- Weight: Lower infill reduces weight and material usage.
- Print time: Dense infill significantly increases print duration.
- Cost: More material equals higher cost.
For igus tribofilaments, which are optimised for wear resistance, choosing the right infill ensures your part performs under load without wasting material.
General infill guidelines
While igus doesn’t mandate a single infill percentage, here are practical ranges based on part function:
- 10–20%:
Ideal for non-load-bearing parts or prototypes where wear resistance matters but strength isn’t critical.
Example: Decorative covers or housings.
- 30–50%:
Best for light-duty functional parts that experience moderate forces. This range balances strength and efficiency.
Example: Bearings, bushings, or guides in low-load applications.
- 50–70%:
Recommended for high-load components where mechanical strength is crucial. Beyond 60%, strength gains diminish, but weight and print time increase sharply.
Example: Sliding elements or parts under continuous motion.
- 100% (Solid):
Rarely necessary even for igus filaments. Use only for extreme wear parts or calibration samples.
Pattern Matters Too
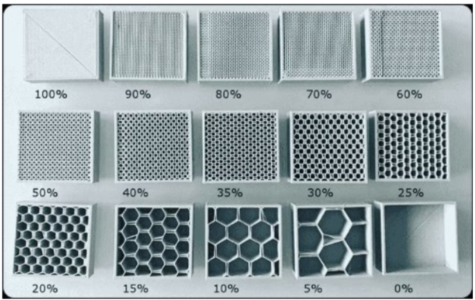
Infill pattern impacts strength and efficiency. For igus tribofilaments:
- Grid or Rectilinear: Fast and simple for general use.
- Triangular or Honeycomb: Excellent strength-to-weight ratio for moving parts.
- Gyroid: Great for multi-directional stress and vibration damping.
igus-Specific Tips
Material Choice:
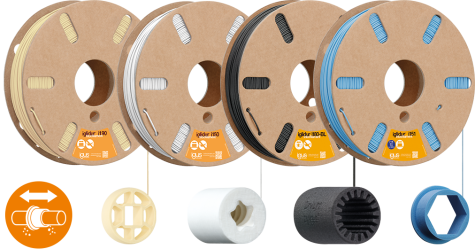
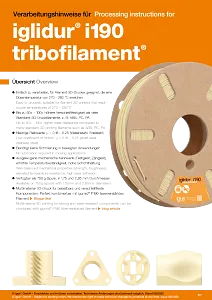
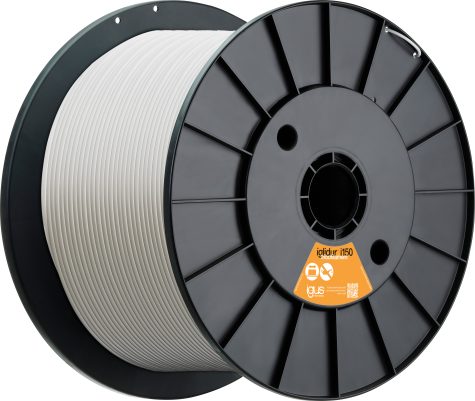
- iglidur® i150: Easiest to process, suitable for low to medium loads.
- iglidur® i190: Up to 50× more wear-resistant than ABS, ideal for demanding applications.

Print Settings:
- Read more here for i150 and here for i190
- Bed temp: 70–90 °C (except i150, which can print without heated bed using igus adhesive foil)
- Print speed: 30–50 mm/s
Balancing Strength vs. Efficiency
Increasing infill from 25% to 50% can boost strength, but going from 50% to 75% only adds ~10%. For most igus parts, 30–50% infill with a strong pattern is the sweet spot for durability without excessive material use.
| Application | Recommended Infill % | Suggested Pattern | Notes |
| Prototypes / Covers | 10–20% | Grid / Rectilinear | Lightweight, minimal material use |
| Light-Duty Parts | 30–50% | Honeycomb / Gyroid | Good balance of strength and efficiency |
| High-Load Components | 50–70% | Honeycomb / Gyroid | Increased durability for moving parts |
| Extreme Wear Parts | 100% | Solid | Rarely needed; use only for critical loads |
Key Takeaways
- Start with 30–50% infill for most functional igus parts.
- Use honeycomb or gyroid patterns for strength.
- Avoid 100% infill unless absolutely necessary.
- Combine proper infill with adequate wall thickness for best results.